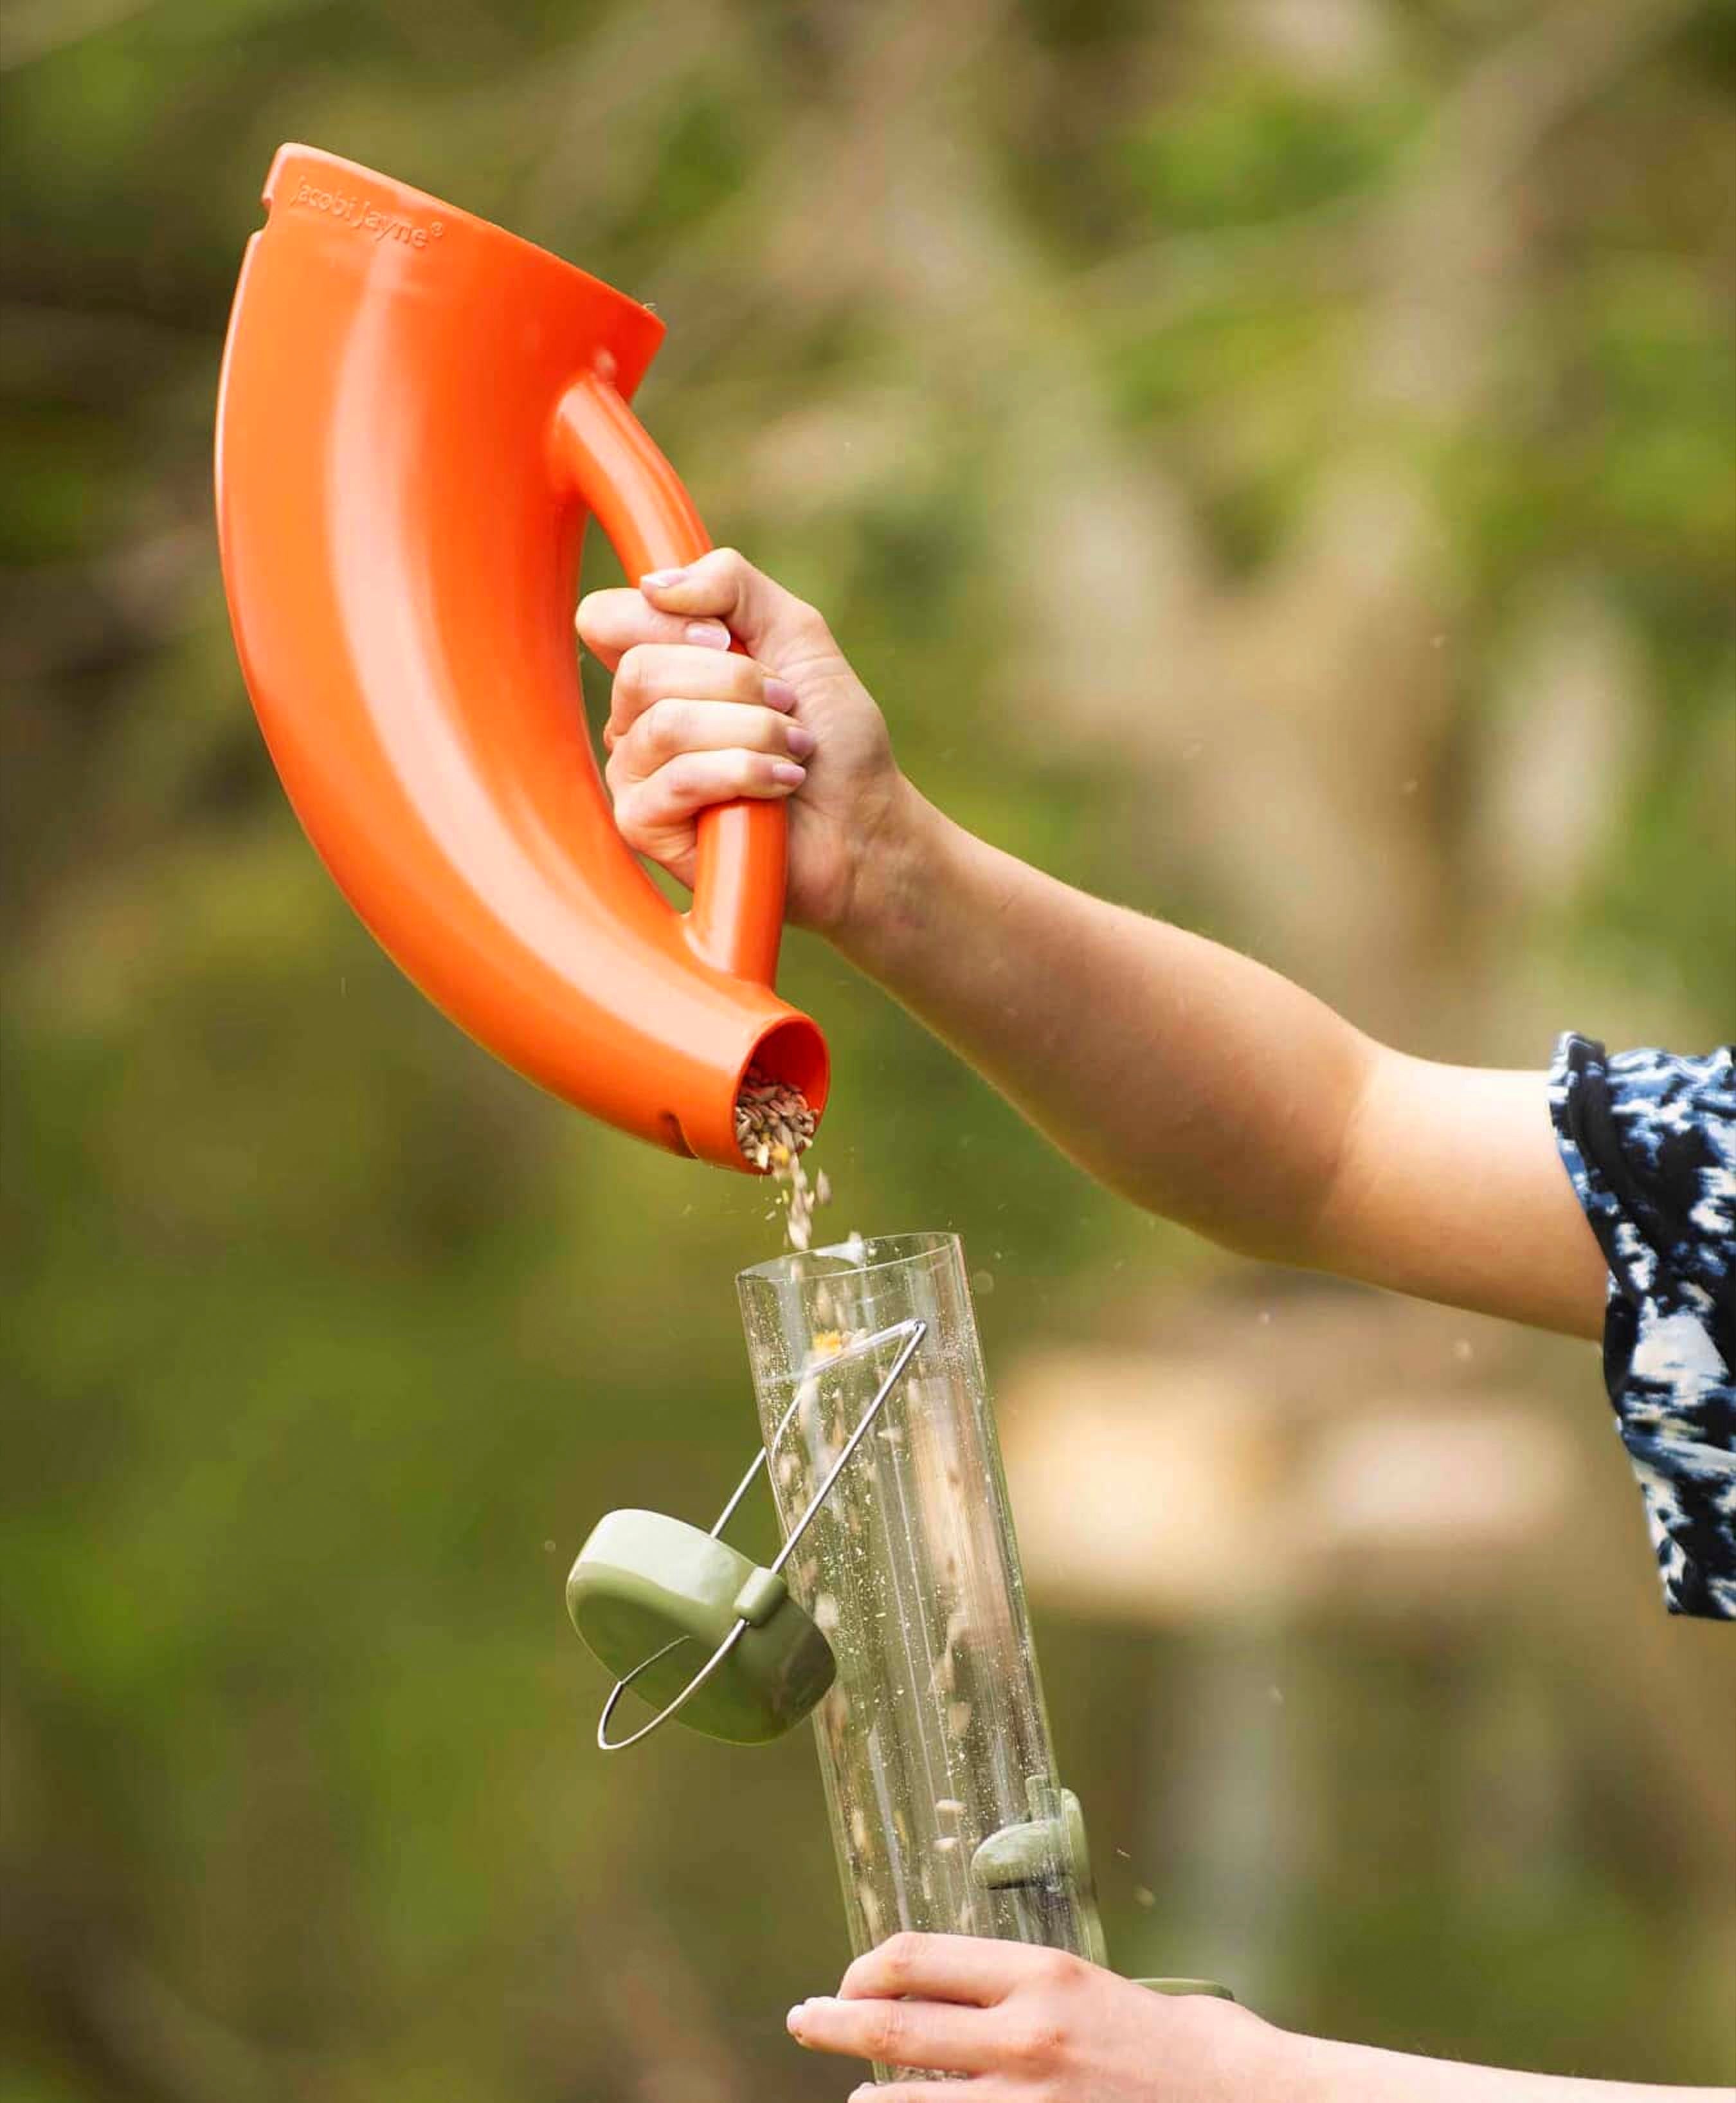
Keeping your bird feeder clean is crucial for the health of the wild birds that visit your yard. Dirty feeders can harbor mold, bacteria, and diseases that harm birds. Regular cleaning ensures that your feeder remains a safe and welcoming place. Here’s a step-by-step guide on how to clean your bird feeder effectively.
1. Why Cleaning Your Feeder is Important
Bird feeders can collect leftover seeds, shells, droppings, and moisture, which create an environment where bacteria and mold thrive. Cleaning your feeder helps:
• Prevent the spread of diseases among wild birds.
• Eliminate mold and mildew, which can spoil food and harm birds.
• Maintain a healthy feeding area, keeping birds coming back regularly.
2. How Often Should You Clean a Bird Feeder?
To keep your backyard birds healthy, aim to clean your feeder at regular intervals:
• Every two weeks for general maintenance.
• After heavy rain or if you notice wet seed or mold.
• Immediately if you observe sick or lethargic birds near the feeder.
3. Supplies You’ll Need
Before starting the cleaning process, gather the following items:
• A brush or sponge for scrubbing.
• Mild soap or an unscented dish detergent.
• A disinfectant (1 part bleach to 9 parts water).
• Clean water for rinsing.
• Gloves for protection.
4. Step-by-Step Guide to Cleaning Your Feeder
Follow these steps to thoroughly clean your bird feeder:
Step 1: Empty the Feeder
Remove all seed from the feeder. Discard any damp or moldy seeds to prevent contamination. Use a small brush to clear out any stuck seeds from hard-to-reach areas.
Step 2: Soak in Soapy Water
Soak the feeder in warm, soapy water for 10-15 minutes to loosen dirt and debris. For tube feeders, disassemble the parts as much as possible to ensure a thorough clean.
Step 3: Scrub All Parts
Use a brush or sponge to scrub all parts of the feeder, including feeding ports and perches. Make sure to clean any crevices where debris and mold might collect.
Step 4: Disinfect the Feeder
Soak the feeder in a solution of 1 part bleach to 9 parts water for 10 minutes to kill any bacteria or mold. This is especially important if you’ve noticed sick birds or visible mold in your feeder.
Step 5: Rinse Thoroughly
Rinse the feeder several times with clean water to remove any soap or bleach residue. It’s important to ensure there’s no leftover chemical that could harm the birds.
Step 6: Dry Completely
Allow the feeder to air dry completely before refilling it with birdseed. A dry feeder prevents moisture buildup, which can lead to mold and spoil the food.
5. How to Keep Your Feeder Cleaner for Longer
Here are some tips to help keep your bird feeder cleaner between washes:
• Use feeders with good drainage to prevent water buildup.
• Don’t overfill the feeder, especially in wet conditions.
• Check the feeder regularly for moldy seeds or droppings.
• Rotate feeders so you can clean one while birds use another.
6. Clean the Area Around the Feeder
In addition to the feeder itself, it’s a good idea to clean the ground beneath it. Dropped seeds and bird droppings can create an unhealthy environment for birds. Rake up any debris and dispose of it regularly.
Final Thoughts
Regularly cleaning your bird feeder is essential for keeping wild birds healthy and safe. By following these simple steps and maintaining a consistent cleaning routine, you’ll create a welcoming environment that keeps birds coming back to your yard.
